When you register a domain name, four sets of contact information is created: Registrant, Billing, Administrative and Technical. Your domain contact information will be publicly available and is called a Whois record.
The Registrant, Billing , Administrative and Technical contact can all be the same organization/person or they can be different.
To update Domain Contact Information:
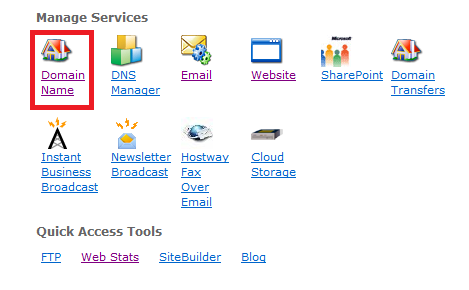
- Click Domain Name on the Home page of SiteControl.
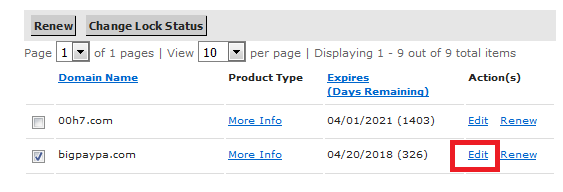
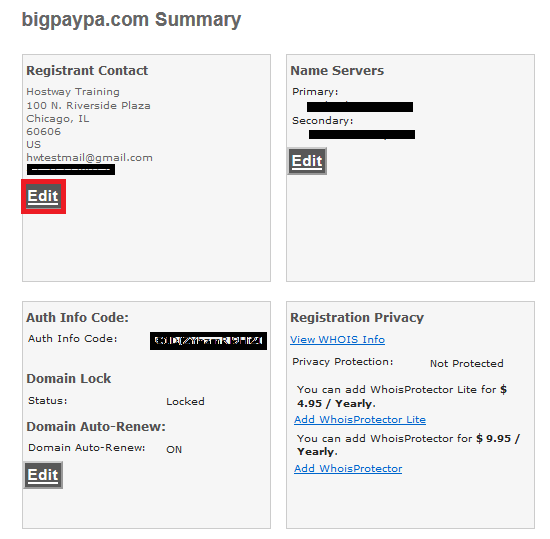
2. Click Edit next to the appropriate domain name.
3. Click Edit in the Registrant Contact box.
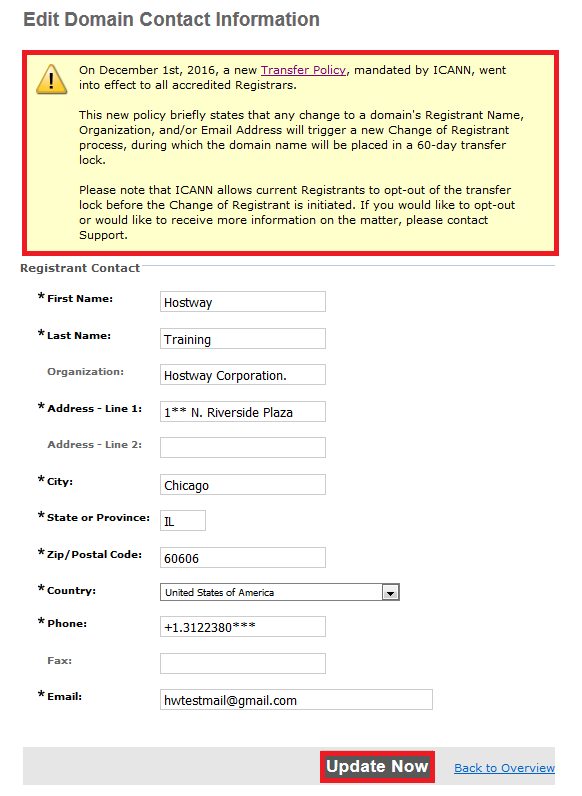
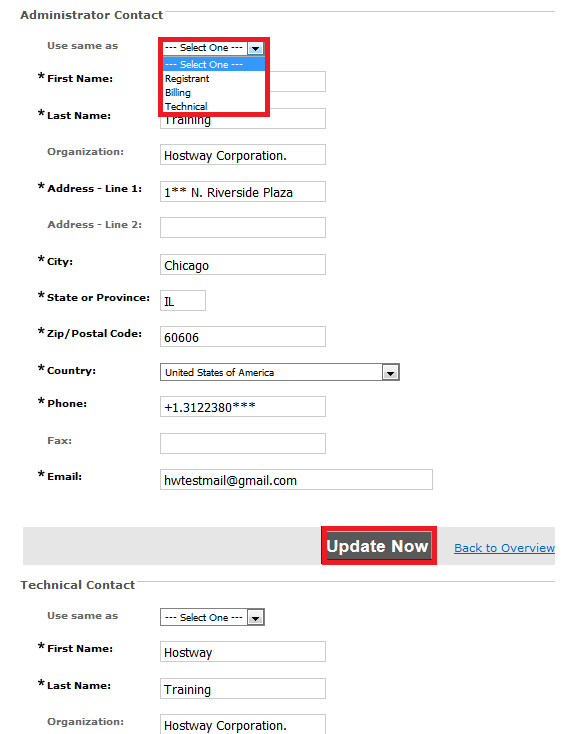
4. Enter the updated contact information in the Registrant Contact section and click Update Now. If the same information applies to the Billing, Administrator and Technical contacts, then use the Use same as option drop-down menu in each section to select the Registrant option, and click Update Now. You have to separately update each section.
Important: If you update the registrant contact, the domain name will be locked for registrar transfer for the next 60 days. If you are planning a change on your registrant contact please review the process in details first.
Whois Protector - Keeping Your Information Private
ICANN, the international governing body for domain names, requires every Registrar to maintain a publicly accessible "WHOIS" database displaying all contact information for all domain names.
Our Whois Protector service provides you a way to keep your personal name and contact information hidden from public view, safe from spammers, identity thieves and telemarketers. When you purchase a domain name and add the WhoisProtector service, our partner WhoisProtector.com provides its contact information in the WHOIS database to replace yours. Your contact information is kept private and you still retain full control over your domain name.
In order to add Whois Protector:
1. Click Domain Name on the Home page of SiteControl.
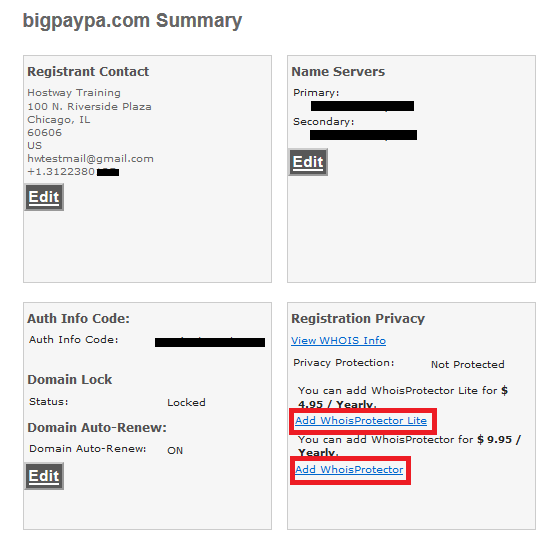
2. Locate your domain name and click Edit next to it to open the summary page.
3. In the Registration Privacy box activate the desired WhoisProtector plan by clicking at the respective Add button.
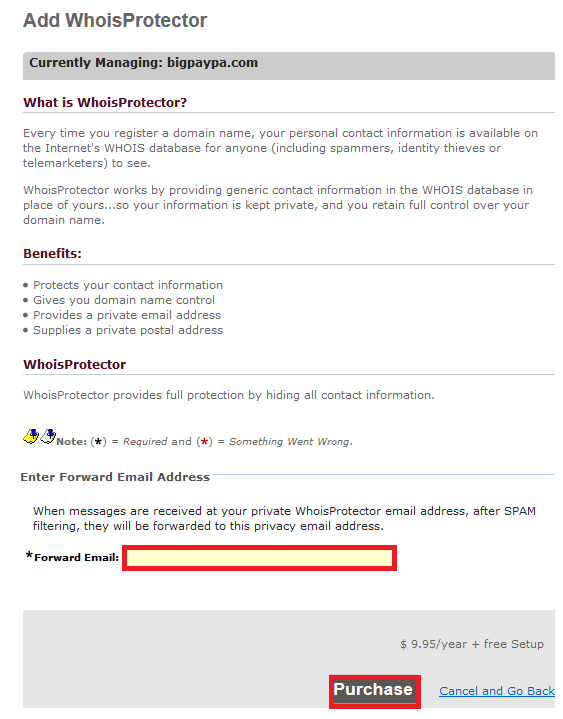
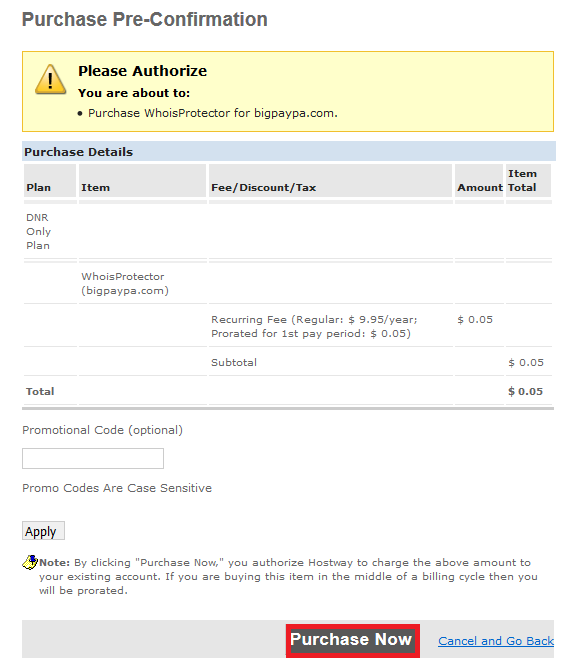
4. On the next “Add WhoisProtector” page enter your Forward Email Address and click Purchase.